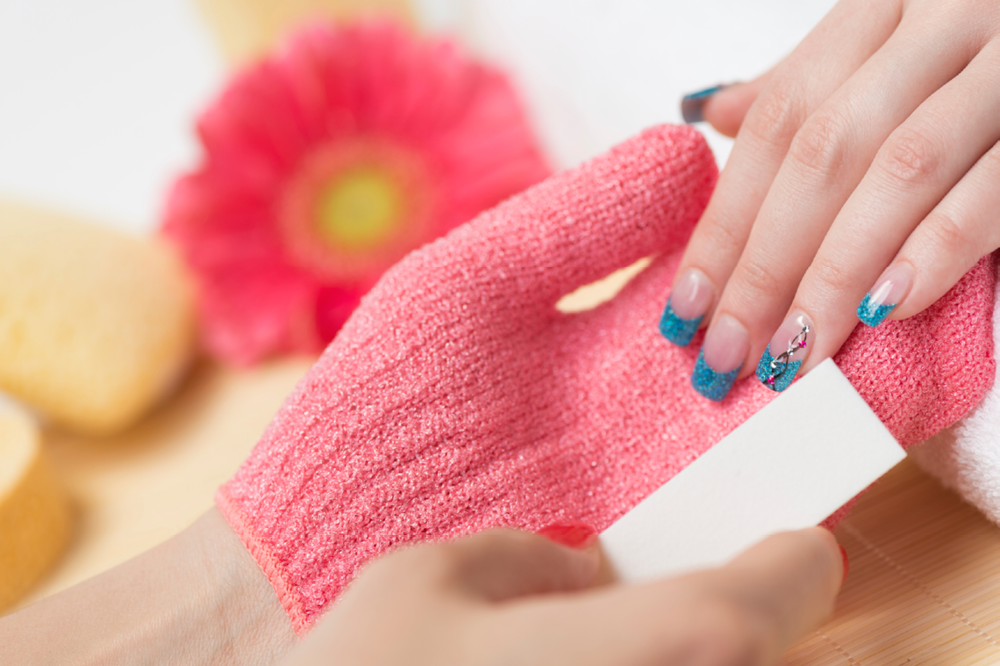
There are some things worth splurging on. Starbucks, Manalo Blahniks and trips to Tahiti top our list. But in order to indulge in those kinds of luxuries, it’s usually necessary to cut back in other areas. The trick is finding which necessities you’re able to skimp on without really noticing much of a difference. Our little secret: Skip out on expensive French pedicures (and manicures) and try our easy at-home French pedicure. It’s classic, sophisticated, inexpensive — and nobody will ever know it wasn’t done by a professional.
Quick Steps For An At-Home French Pedicure
- 1. Gather your materials
- 2. Relax and soften your skin with a luxurious foot bath
- 3. Scrub your feet and prep your nails
- 4. Apply white polish to your nail tips only
- 5. Perfect your white tips with a makeup brush and polish remover
- 6. Give your toes a picture perfect finish with clear polish
For detailed information on how to give yourself a salon-quality French pedicure or manicure, read the full instructions below.
Step One: Gather Your Materials
This is the section where we’d love to tell you to grab a martini, but in the essence of trying to stay frugal, we’ll stick to the basics. For at-home French pedicures, you will need:

- A foot spa or large tumbler to soak your feet
- A pumice stone
- A good quality foot lotion or cream
- Nail clippers
- A nail file
- Acetone nail polish remover
- A concealer brush or eyeshadow brush
- White toenail polish
- Clear or sheer pink nail polish
- Fresh towels
- Toe spacers (optional)
Step Two: Relax Your Feet with a Luxurious Foot Bath
You may be skipping the pricey salon, but you don’t have to skip the pampering that comes along with a pedicure. Soaking your feet in warm water for 10 to 20 minutes isn’t only relaxing, it also softens the skin and reduces the severity of unsightly foot ailments like calluses, bumps and dry heels. After soaking your tootsies, use a pumice stone to gently scrub away any rough spots, then towel dry both feet and generously apply a good quality foot cream or lotion. Following these steps gives your feet ultimate softness and mimics what a professional pedicure would achieve.
Step Three: Remove Any Existing Nail Polish and Carefully Clip and Prep Your Nails

This is a basic maintenance step that you may be able to skip, depending on the condition of your feet and nails. If you are already wearing nail polish or shellac, use a cotton ball and polish remover to fully take away any leftover nail color. (Keep in mind you may have to scrub extra hard if your existing polish was a glitter or gel polish.) Follow up by using nail clippers to trim each toenail, being sure to cut straight across and not in a curved shape, which could cause ingrown toenails. This is also the time to push back your cuticles to give your toenails a super clean look. (Editor's Note: As tempting as it may be, you should avoid cutting your nail cuticles, because it can cause sores and nail infections.)
Step Four: Apply White Polish to the Tips of Your Nails
Nights in white satin never reach the end, but the white of a French mani or pedi is focused solely on the ends. Keep that in mind as you paint the tips of your nails with two coats of white polish. But don’t worry if you’re not exactly Van Gogh. The white stripes can be messy, because you’ll be fixing them and making them art-gallery perfect in the next step (unless you started with that martini, and then who really cares about line perfection).
Step Five: Make Your Pedicure Tips Picture Perfect
At this point, you may be cursing your decision to try doing a French pedicure at home and wonder why you placed more importance on a Michael Kors bag than a professional toenail treatment. Rest assured, you’ll soon see the error of your ways — and forget all about the error of your white lines. All you have to do is dip your concealer brush or eyeshadow brush in acetone nail polish remover and use it like a small eraser to perfect and thin out the white tips you've painted on each toe. See? This isn’t so bad! (You deserve a martini.)
Step Six: Finish with Clear Nail Polish
You’re almost done with this easy peasy French pedi! All you have to do is wait a few minutes for your white tips to dry and then paint each full nail with one or two coats of clear or sheer pink nail polish. And voila: The classic, sophisticated and inexpensive French pedicure of your dreams!
Of course, if this at-home method proves to be too much work for you, there’s always the option of buying ready-made French manicure and pedicure nail stickers from places like Jamberry and Showynails. But is it really worth the money? Remember, there’s a Starbucks or an island vacation with your name on it...


