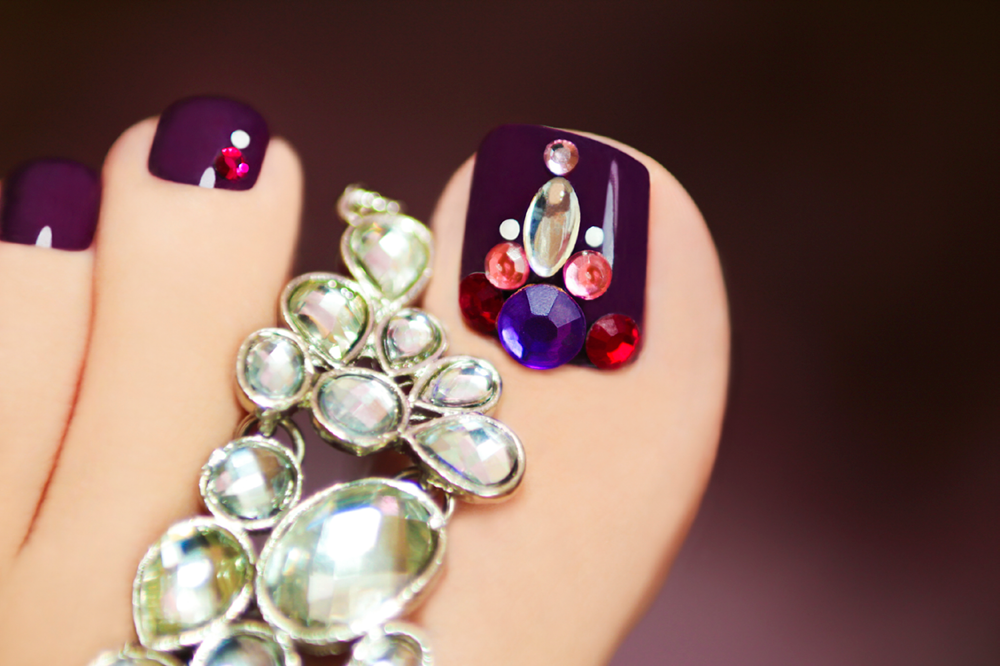
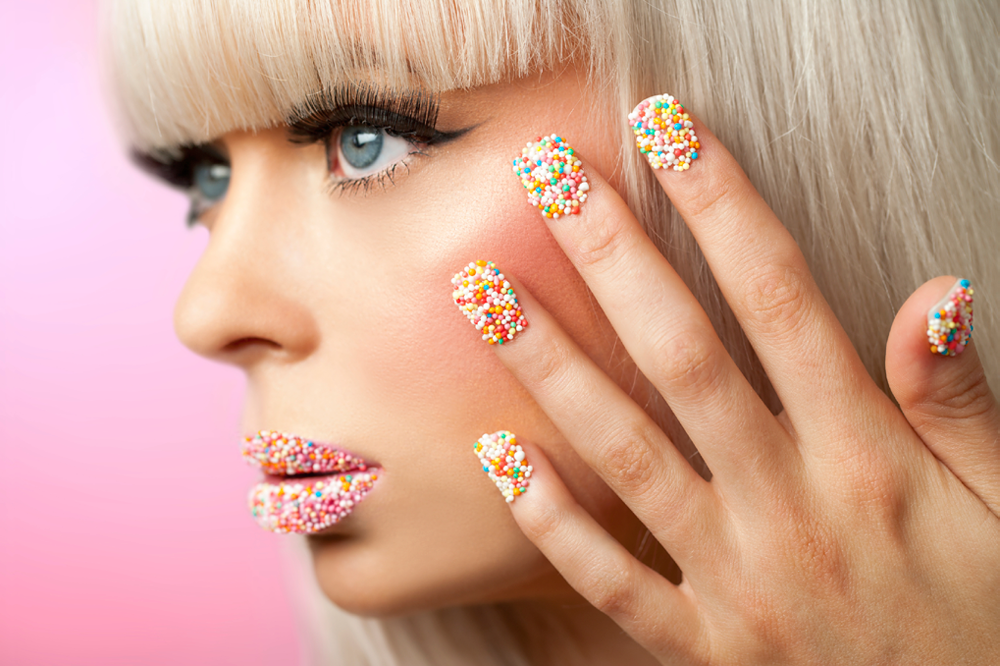
Looking for a mani or pedi look worthy of a glam celebration but feel a bit over the tried-and-true glitter look? Your search is over, because this super simple cake sprinkle nail look will have everyone drooling.
How To Create Sprinkle Nails
Step One: Gather Your Materials
Before you begin whipping up sweet sprinkle nails, you’ll want to have all your “ingredients” at the ready. They include:
- A bowl filled with plenty of round cake sprinkles
- A clear base coat and a clear topcoat
- Nail polish in the color of your choice (brands like OPI, Essie, Deborah Lippmann and Sally Hansen are good choices)
- An orangewood stick or other small stick
Step Two: Prep Your Nails
Begin your sprinkly manicure or pedicure by first covering each nail with a clear basecoat, which will help the mani or pedi last longer.

Step Three: Individually Apply Nail Color and Sprinkles To Each Nail
You’ll want to follow the next steps one nail at a time, preferably starting with the pinky nail and working in, one by one.
Start out by painting one nail in the colored nail lacquer you chose. Give the nail three (yes, three!) coats of the polish, which will help the sprinkles stick better. Wait about 15 to 30 seconds after applying the final coat of polish so it becomes tacky and then gently place the nail in your bowl of sprinkles, being careful not to let your nail touch the bottom of the bowl.
You’ll notice that the sprinkles may stick out over the edges of your nail, and this is where the stick comes into play: You can use it to gently push the sprinkles closer together (away from your cuticle and toward the nail itself) to create a neater look. But be very gentle and patient! Once the sprinkles are arranged neatly, you should very gingerly press the sprinkles into the polish with your finger to make sure they stick.
Repeat the above process with each finger or toe until you’re finished with all ten.
Step Four: Dot On A Thick Coat Of Top Coat
The final step in creating celebratory sprinkle nails is dotting — not brushing — a thick layer of topcoat on your nails to act like glue and keep the sprinkles in place. We repeat: You should dot on the topcoat, because if you brush it on like you would traditionally, you risk smearing the color of the sprinkles.
Step Five: Try Not To Devour Your Sweet Creation
We know your mouth is watering by this point, but try to resist indulging. Otherwise, the term “biting your nails” will have a whole new meaning!


