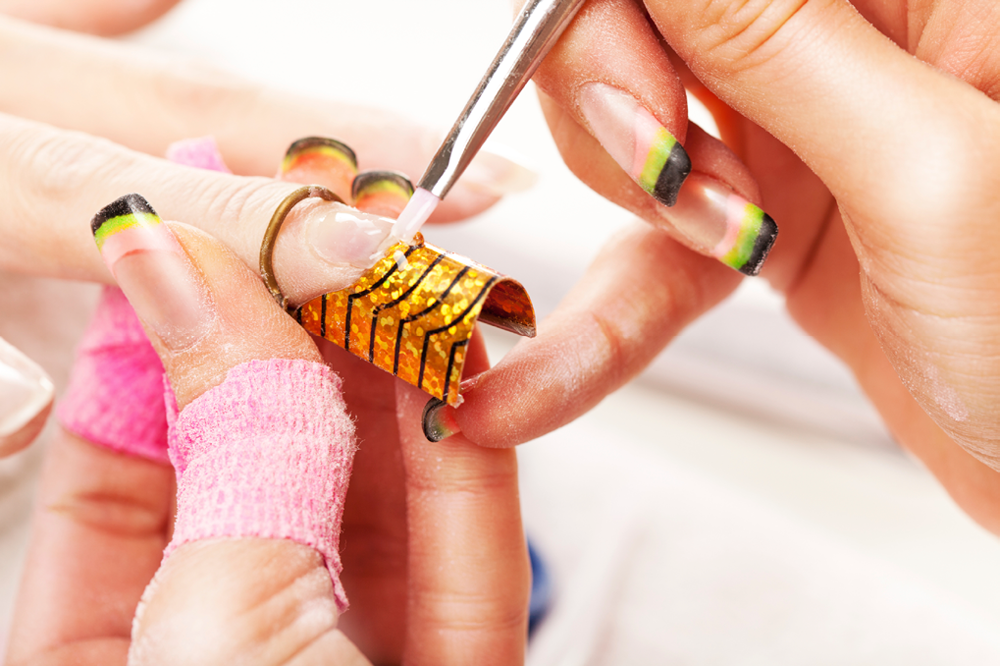
Michael Jackson didn’t exactly croon “They Don’t Care About Brush,” but judging from women’s cosmetic kits across the country, he probably should have. After all, many nail art beginners and aficionados alike have filthy nail art brushes that probably wouldn’t pass OSHA standards let alone create amazing nail designs. So what’s a girl to do when clean freaks would bristle at her bristles? Follow these handy dandy brush cleaning guidelines, of course.
What You’ll Need
- Dirty nail brushes (duh!)
- A bottle of non-acetone nail polish thinner (no, it’s not the same thing as nail polish remover)
- A disposable plastic cup
- A piece of paper or inexpensive towel
Step One: Gather Your Dirty Brushes
Make sure you gather up all of your dirty acrylic brushes, because this is one pool party where each and every brush should take a dip.

Step Two: Create a Brush “Bath”
Pour a few drops of nail polish thinner into a disposable plastic cup. Dip your nail brushes one at a time into the solution, being sure to swirl each brush around so all the bristles are submerged. Do not, and we repeat DO NOT, try to use acetone nail polish remover in place of nail polish thinner. Acetone will weaken your brush bristles, causing them to fall out over time.
Step Three: Wipe Clean and Lay Flat to Dry
After dipping each brush in the nail polish thinner, wipe them on a clean piece of paper or towel to remove the color. Repeat as necessary, reshape each brush and then lay them flat to dry.
Step Four: Avoid Water
Tempting as it may be, you'll want to avoid rinsing your nail art brushes under water after you’ve used nail polish thinner. Doing so will cause the thinner to ball up and stick to your brushes.
Step Five: Admire Your Handiwork In Awe
Congratulations for having cleaned your nail art brushes! Not only can you now create unique manicures and pedicures that will be the envy of all your friends, Danny Tanner of Full House fame just may give you the world’s biggest hug. Um, can you say nailing it?!


