Goldilocks may have been searching the three bears’ house for porridge that was just right, but in our opinion, she should have been searching for shoes that were just right. After all, finding properly fitting footwear that isn’t too small and isn’t too big can prevent a host of common foot problems, including calluses, bunions and blisters. But how does one go about finding the perfect pair of shoes? The first step is knowing how to properly measure your feet so you’re sure to get the right shoe size, each and every time.
Using A Brannock Device To Determine Shoe Size
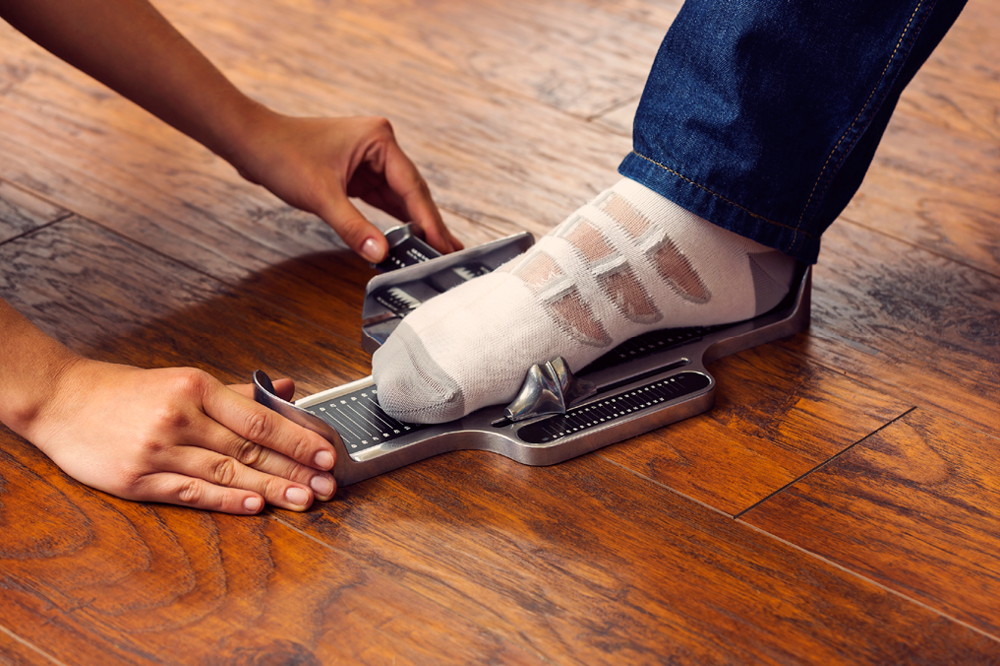
Anyone who’s gone department store shoe shopping has probably seen odd metal contraptions strewn about the shoeboxes and nylon socks littering the showroom floor. Designed by Charles Brannock in 1927, the metal oddities are called Brannock Devices and they’re the standard of measuring in the footwear industry. Most shoe professionals are trained to use Brannock Devices and can assist you in determining the exact size of your feet. However, it’s a good idea to know the basics of using a Brannock Device yourself so you can be sure to get proper results.

Step One: Understanding Heel-to-Ball Length
Did you know that two feet of the exact same length may actually need different sized shoes? This is because the length from the heel to the ball of the foot is just as important as the length from the heel to the tip of the toe. People with short toes need different shoe sizes than people with long toes, even if their overall foot length is the exact same. This is because shoes are designed to flex at the ball of the foot and provide arch support. If your foot and your shoe are not flexing in the same position, your arch isn’t properly supported, which can lead to strained feet and/or toes that are confined into unnatural positions. The Brannock Device takes heel-to-ball length into consideration when determining your proper shoe size.
Step Two: Preparing Your Feet and the Brannock Device for Measuring
Start the measuring process by setting the Brannock Device’s width bar to its widest setting and sliding the arch length indicator all the way back so you can easily position your foot in the device. Start with your feet walking distance apart and your weight equally distributed with one foot in the device. Be sure your heel is snug against the back of the heel cup.
Step Three: Begin Measuring the First Foot
There are three specific measurements the Brannock Device helps you determine: your heel to longest toe length, your heel to ball length and your foot width. The first two measurements will be taken into consideration before moving on to the width.

Heel to Longest Toe Length: Press your toes flat against the Brannock device and look down over the longest toe (which may or may not be your big toe). The number shown is your Heel to Toe length. Relying solely on the Heel to Toe size may result in an improper fit, so be sure not to skip the next steps.
Heel to Ball Length (or Arch Length): Slide the small pointer on the side of the device forward until the inside curve matches up with the ball joint of your foot. The pointer is properly located when the lower middle rib is directly against the ball joint on the side of your foot. Now compare the heel to toe length with the heel to ball length. The larger of the two is usually the correct shoe size.
Width: Once you have determined your proper shoe size, slide the device’s width bar firmly to the edge of your foot. Locate your shoe size on the bar and view the width measurement that corresponds with that size.
Step Four: Measure the Other Foot
Since it is common to have different sized feet, it is important to fully measure both feet with the Brannock Device. If the sizes are different, then find shoes that fit the larger size. Also remember to have your feet sized each time you purchase shoes. Believe it or not, the size of your feet changes with age, weight change and other factors.
The DIY Way to Find Your Shoe Size: Sock, Paper, Scissors

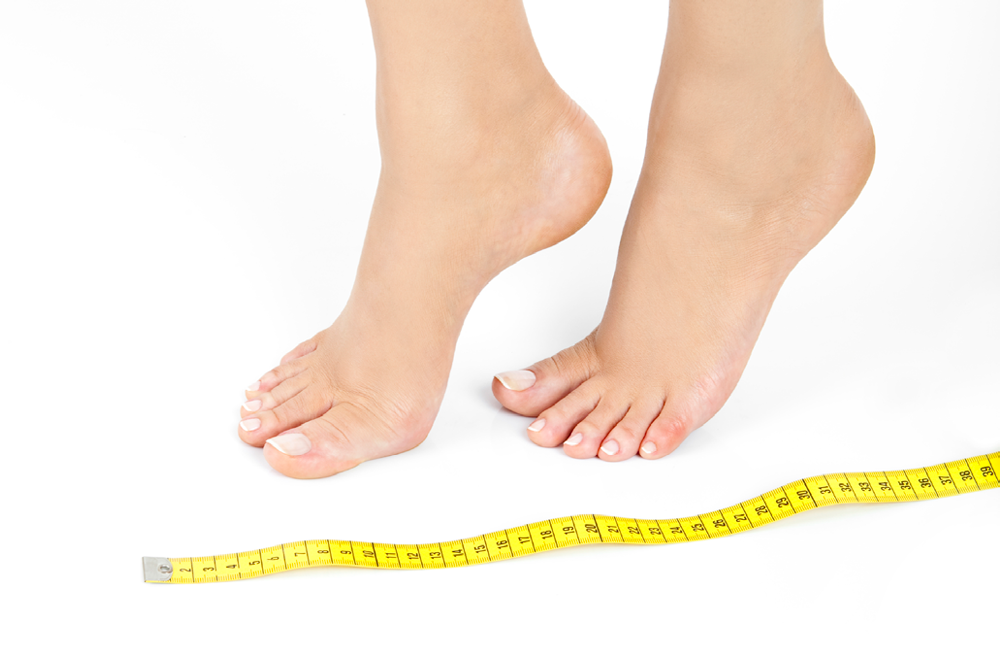
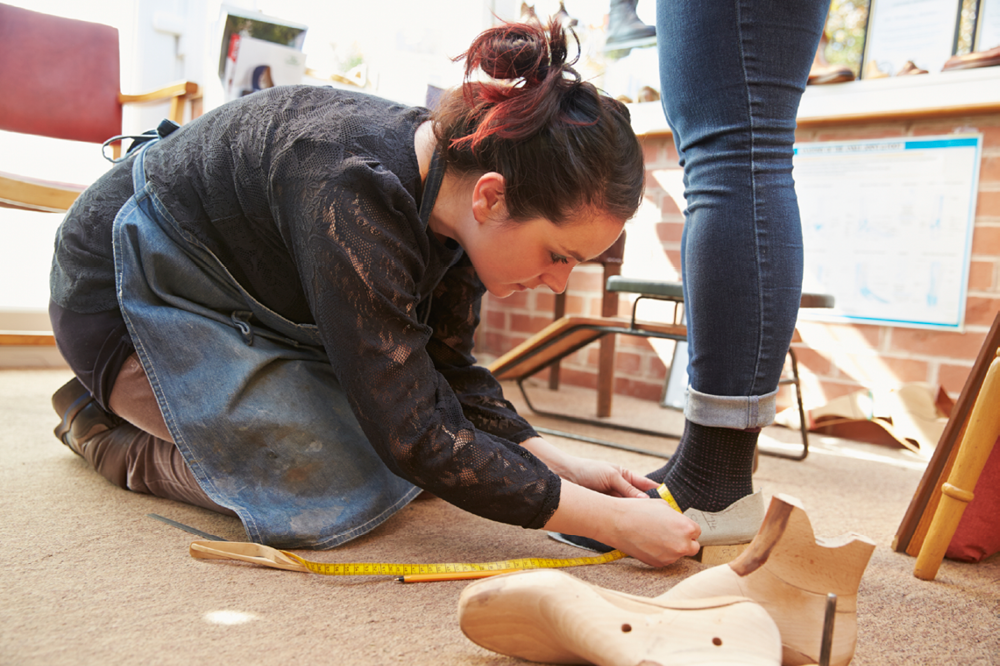
While using a Brannock Device is the most accurate way to determine the true size of your feet, you can also achieve close results at home with just a few simple household items: paper, a pencil, and a ruler or tape measurer.
Step One: Trace the Feet
Start by standing on top of a piece of paper with your feet walking distance apart and your weight evenly distributed. Hold the pencil vertically and trace around your foot, making sure not to angle the pencil in or out.
Step Two: Measure
Using a ruler or tape measurer, find the distance between the very bottom of the heel and the tip of the longest toe (which may or may not be your big toe). Subtract 0.25 inches from the total to account for the space between your foot and the pencil. Next, measure the width by finding the length between widest parts of your foot (usually the ball of your foot). Again, subtract 0.25 inches from this total to account for the pencil’s diameter.

Step Three: Repeat on the Opposite Foot
Repeat the entire procedure on the opposite foot, as it is common to have different sized feet.
Step Four: Determining Your Proper Shoe Size
Once you’ve recorded the measurements of both of your feet, you’re ready to figure out what shoe size you are. If your feet are different lengths and widths, always use the largest measurements when determining size. These handy shoe size charts for women, men and children can determine what size is best for you.
After using the Brannock Device or the at-home foot measuring method, you’ll be feeling like Goldilocks and ready to find the perfect pair of shoes that fits just right.


